Getting started
Login
To access the Onland AR editor, you must have an account on Onland.io You can easily create an account by entering your email and waiting for the link to arrive. Additionally, if you have a Metamask account, you can log in using that method.
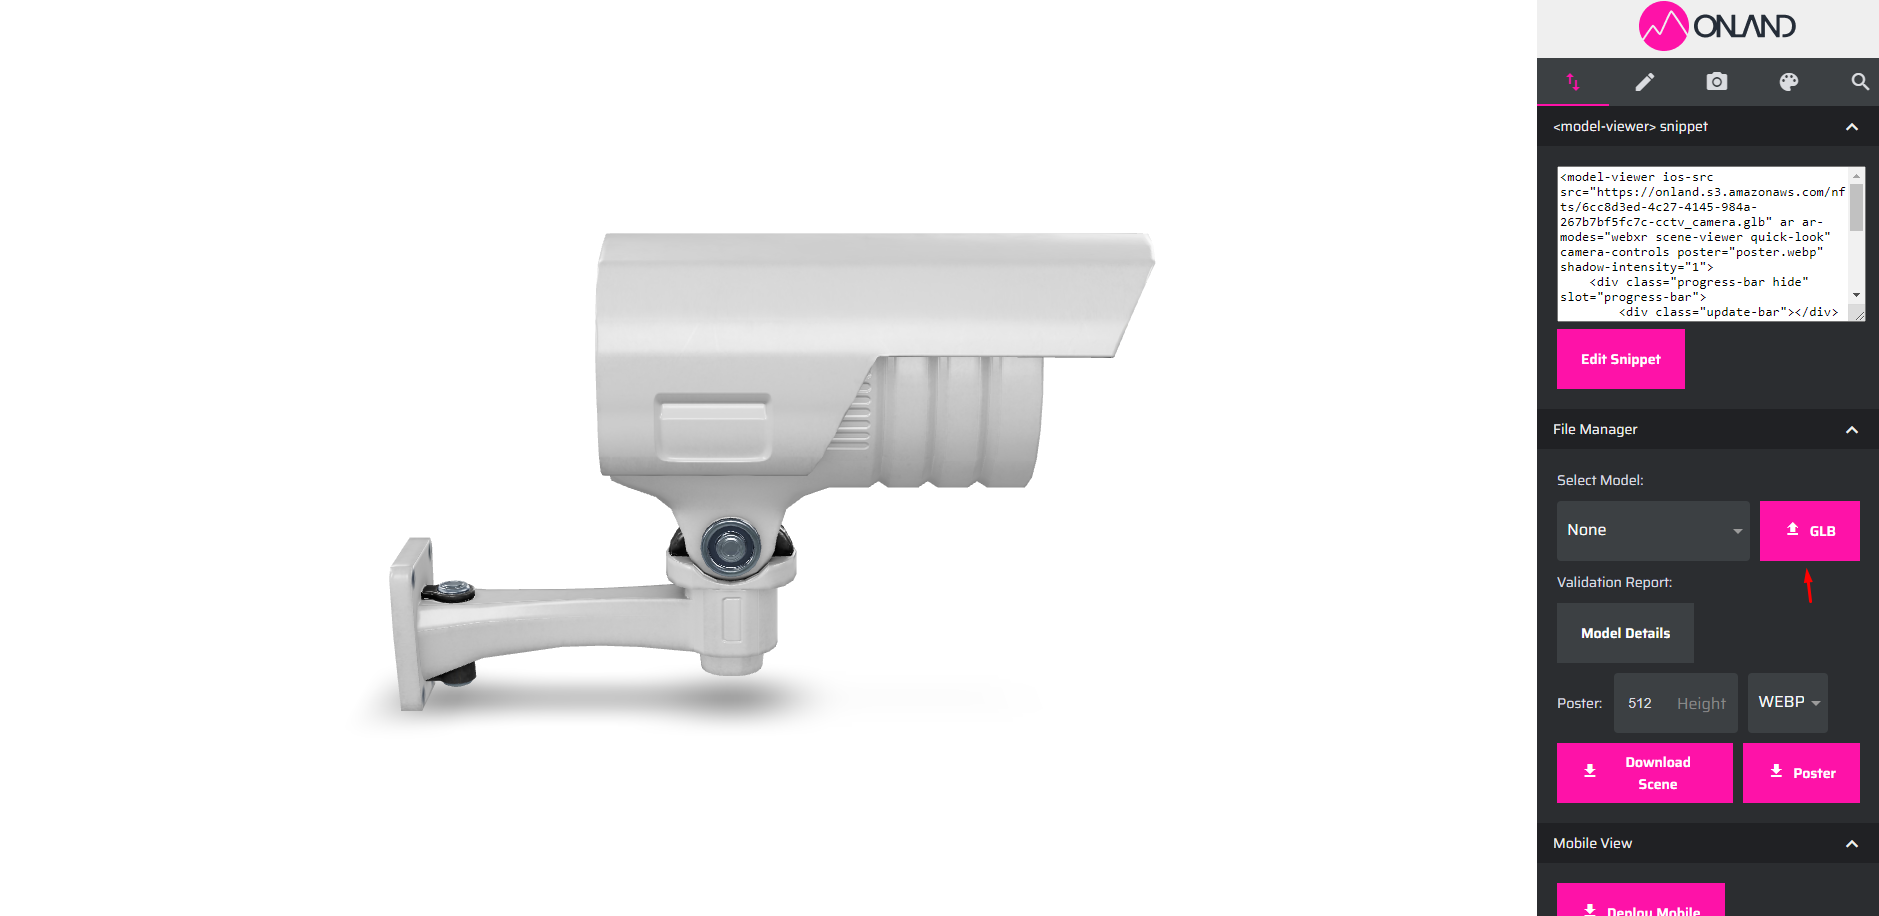
Uploading an existing 3D Model
You can upload an existing 3D model by clicking on the GLB button in the panel on the right side of the page, you can also drag and drop the file in the window. Remember only glTF/GLB models are supported. Once the model is uploaded, you'll be able to see it in the 3D viewing area.
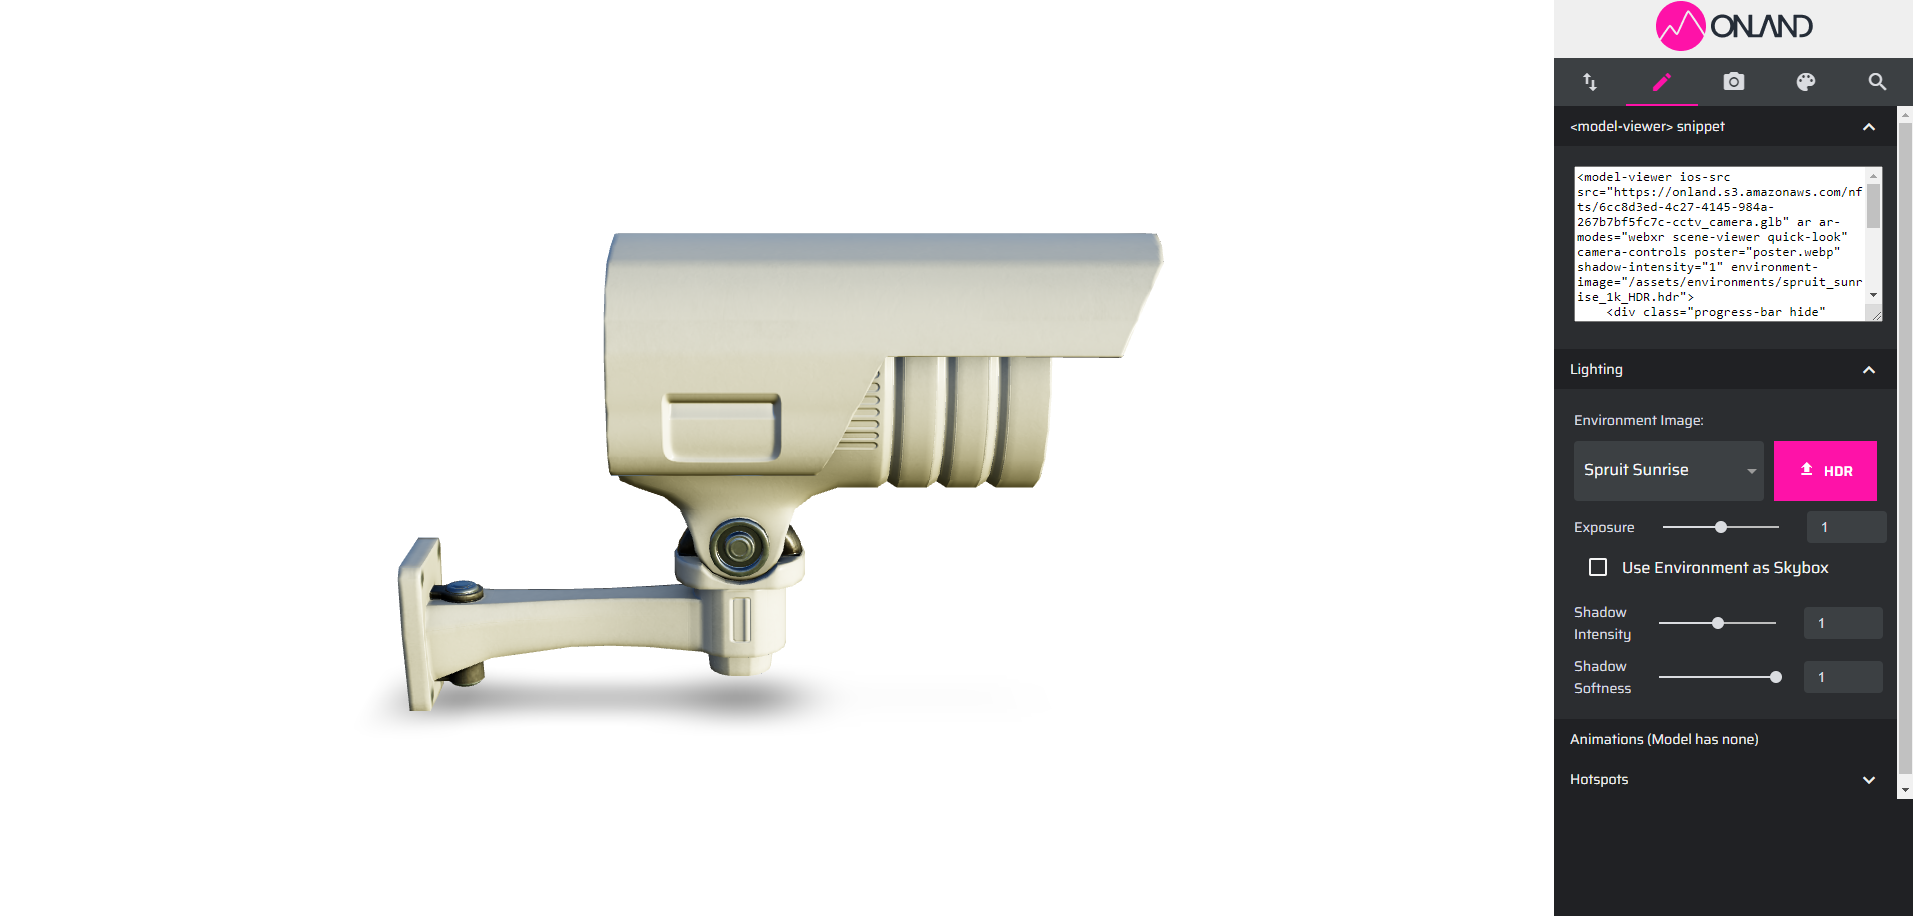
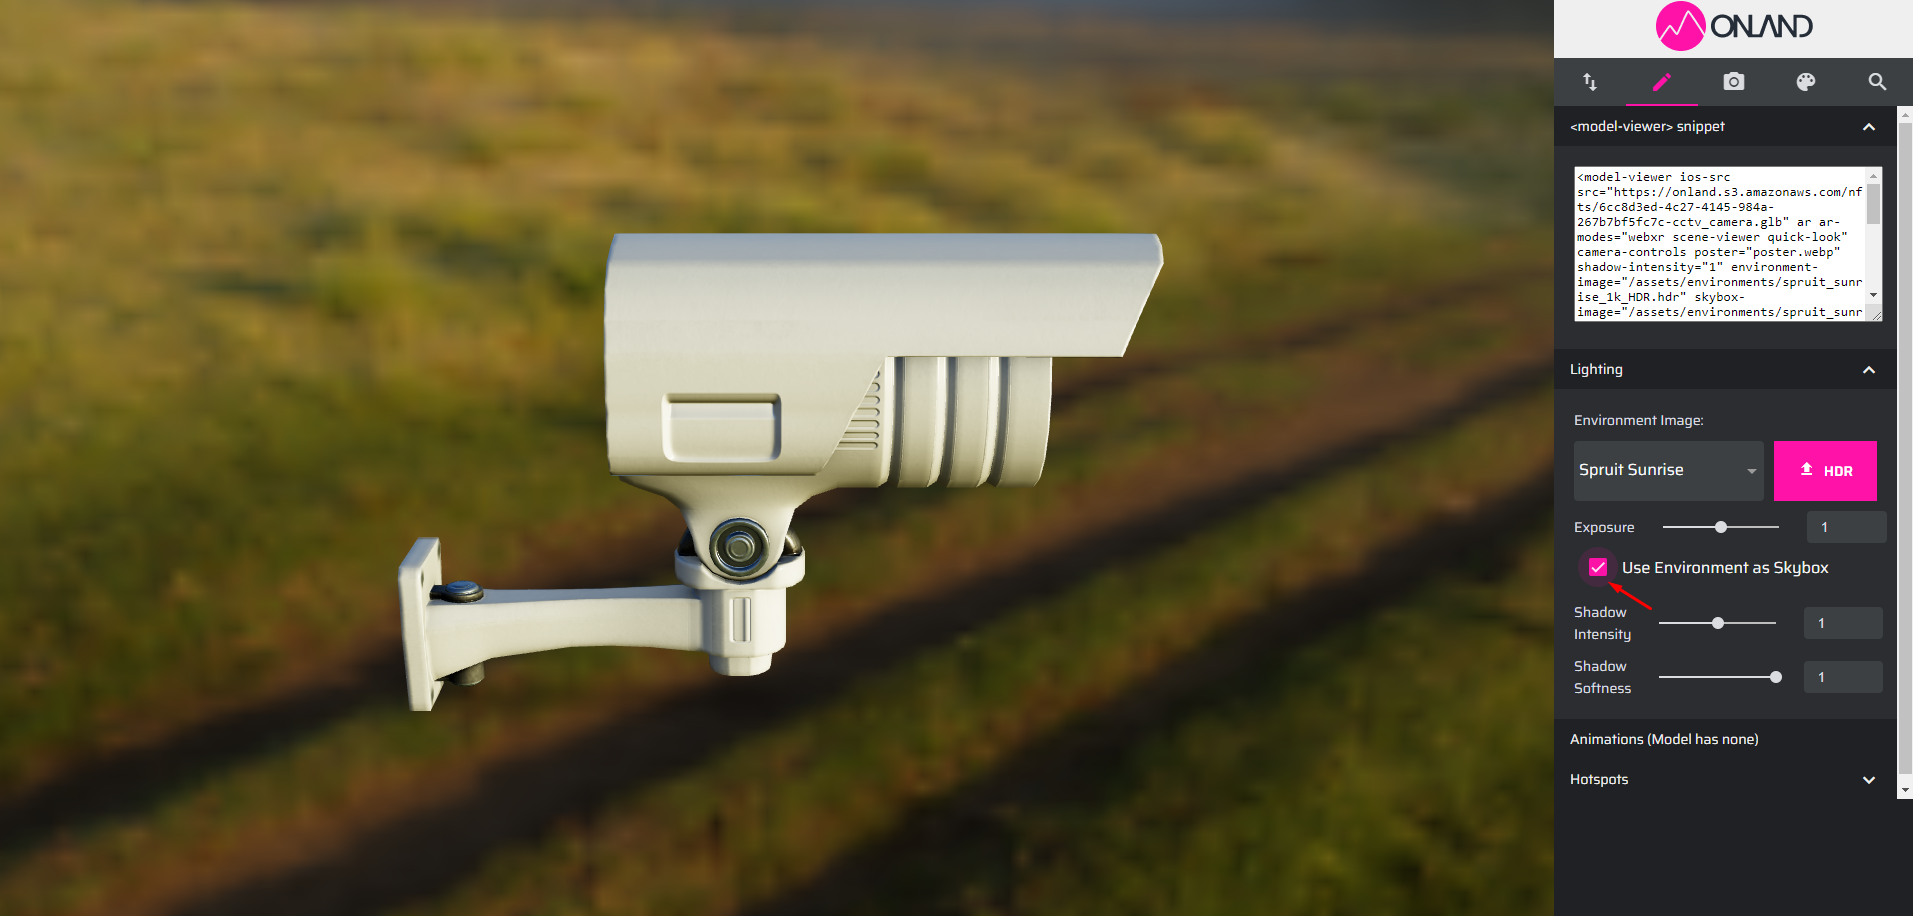
Lighting
To adjust the lighting in your scene, click on the pen tab. The lighting in the scene comes from two sources: a directional light and an environment image.
You can modify the environment image, and by default the lighting, by choosing from the options in the dropdown list or uploading your image using the HDRI button. The environment image can also be utilized as a skybox by clicking on the 'skybox' checkbox, providing a background image for your scene.
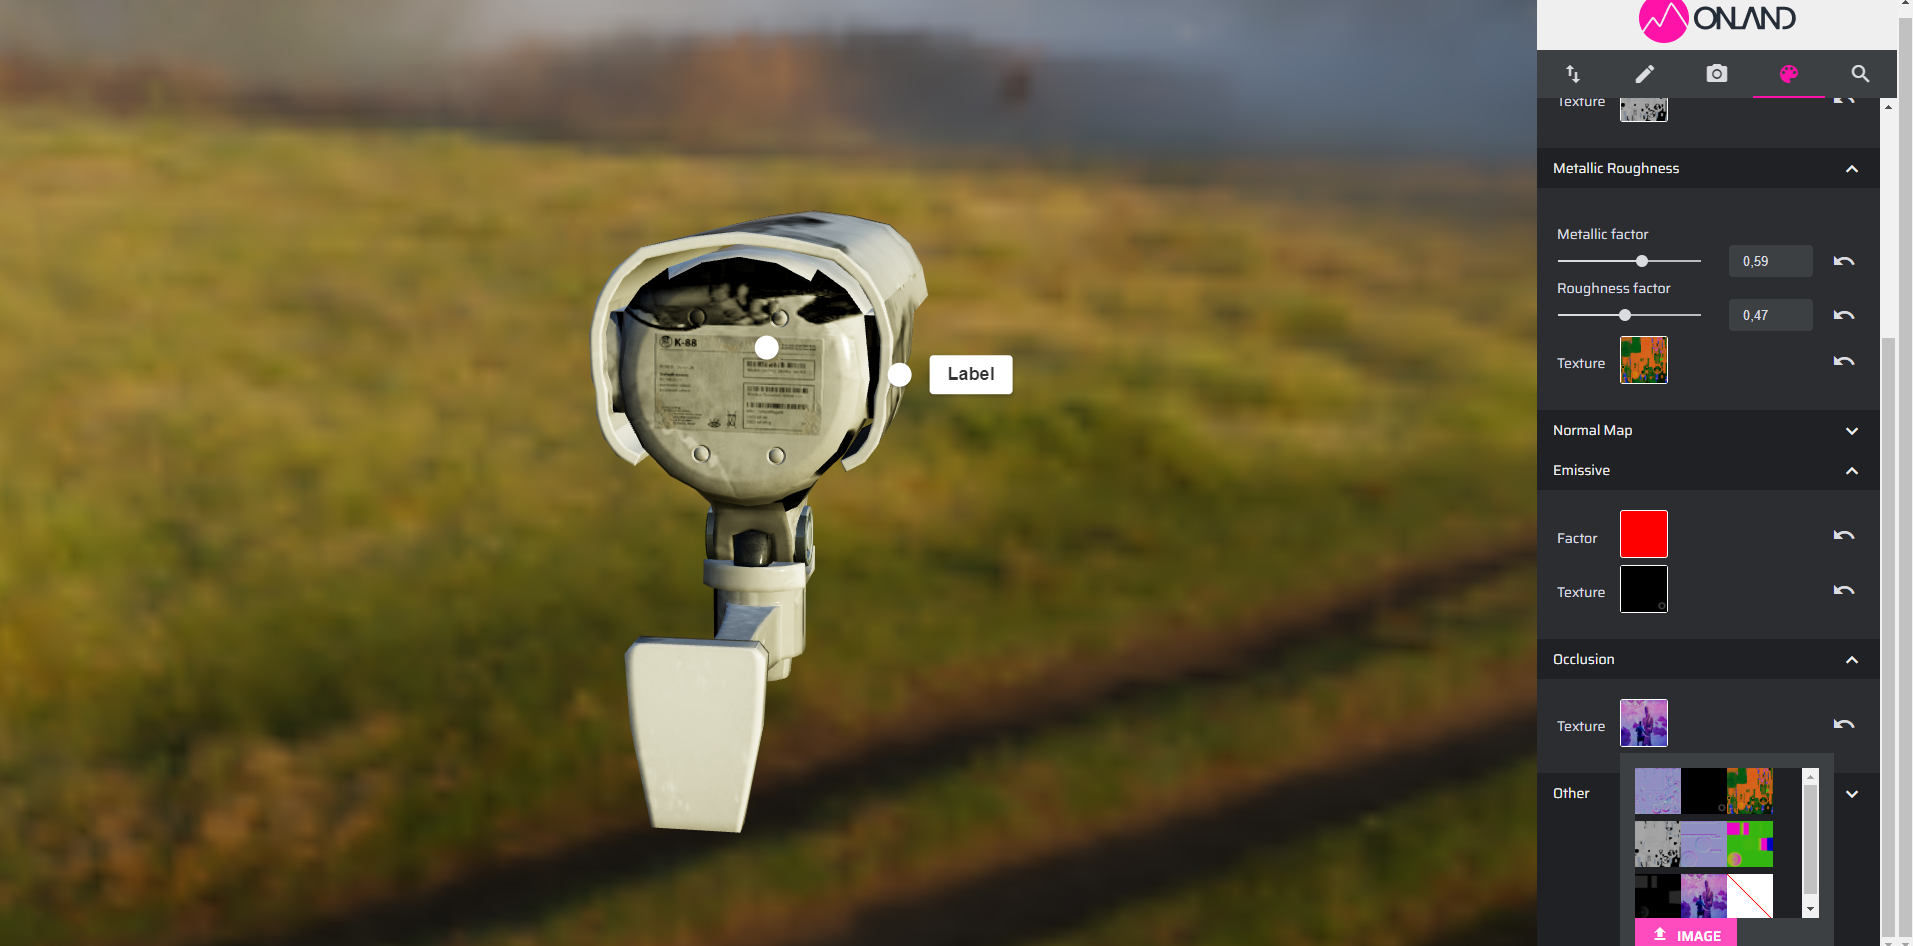
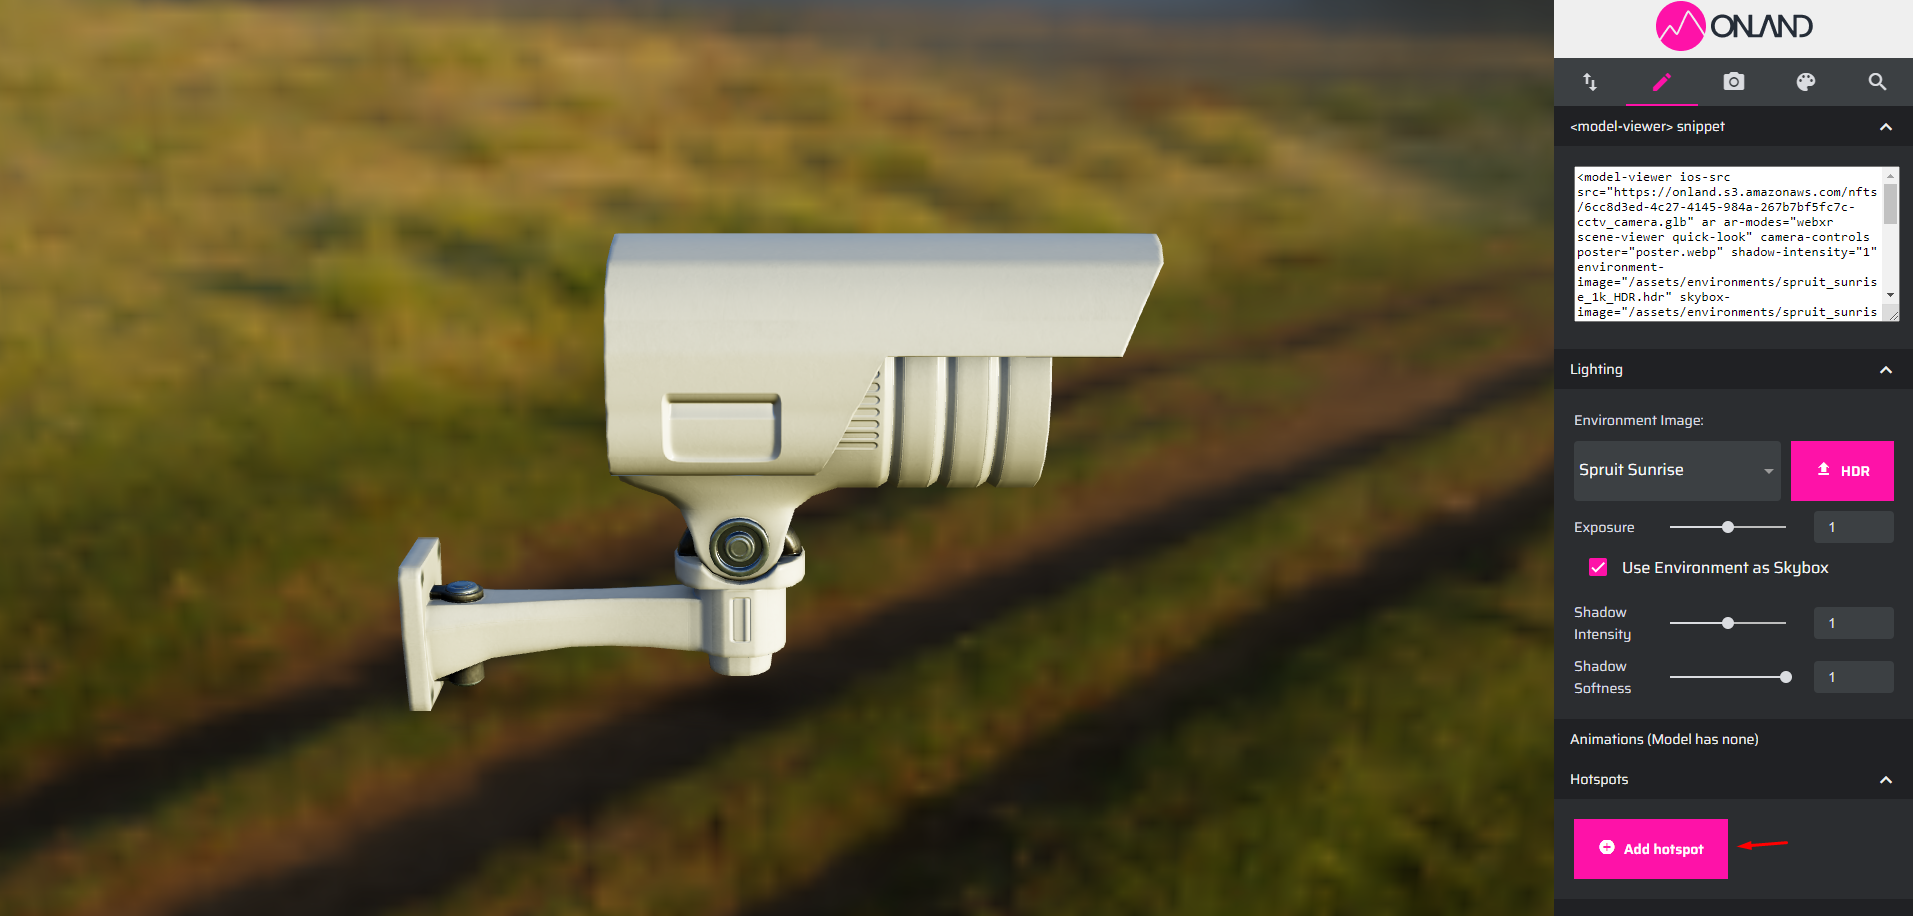
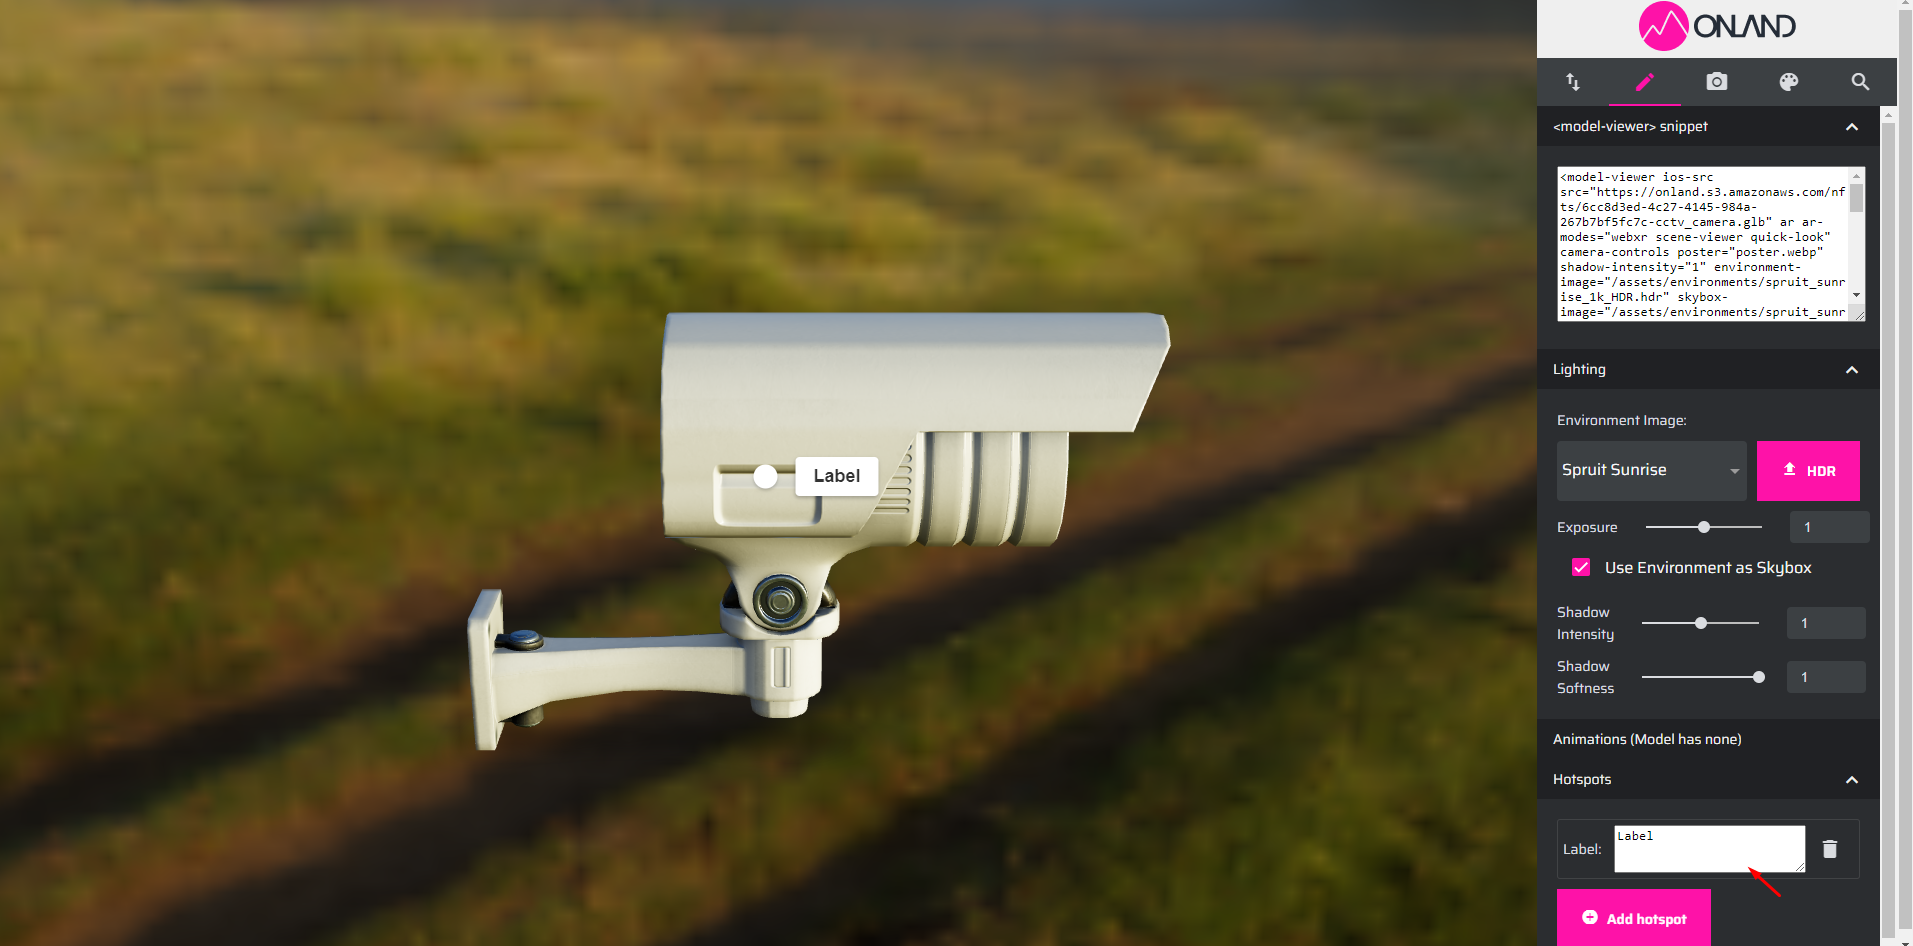
Hotspot
In the pen tab, you can add annotations on your model by clicking the Add a hotspot button and then clicking on the 3D model. In the label panel, you can enter any text you want. The hotspot follows the spot click around and disappears when the hotspot is no longer in view.
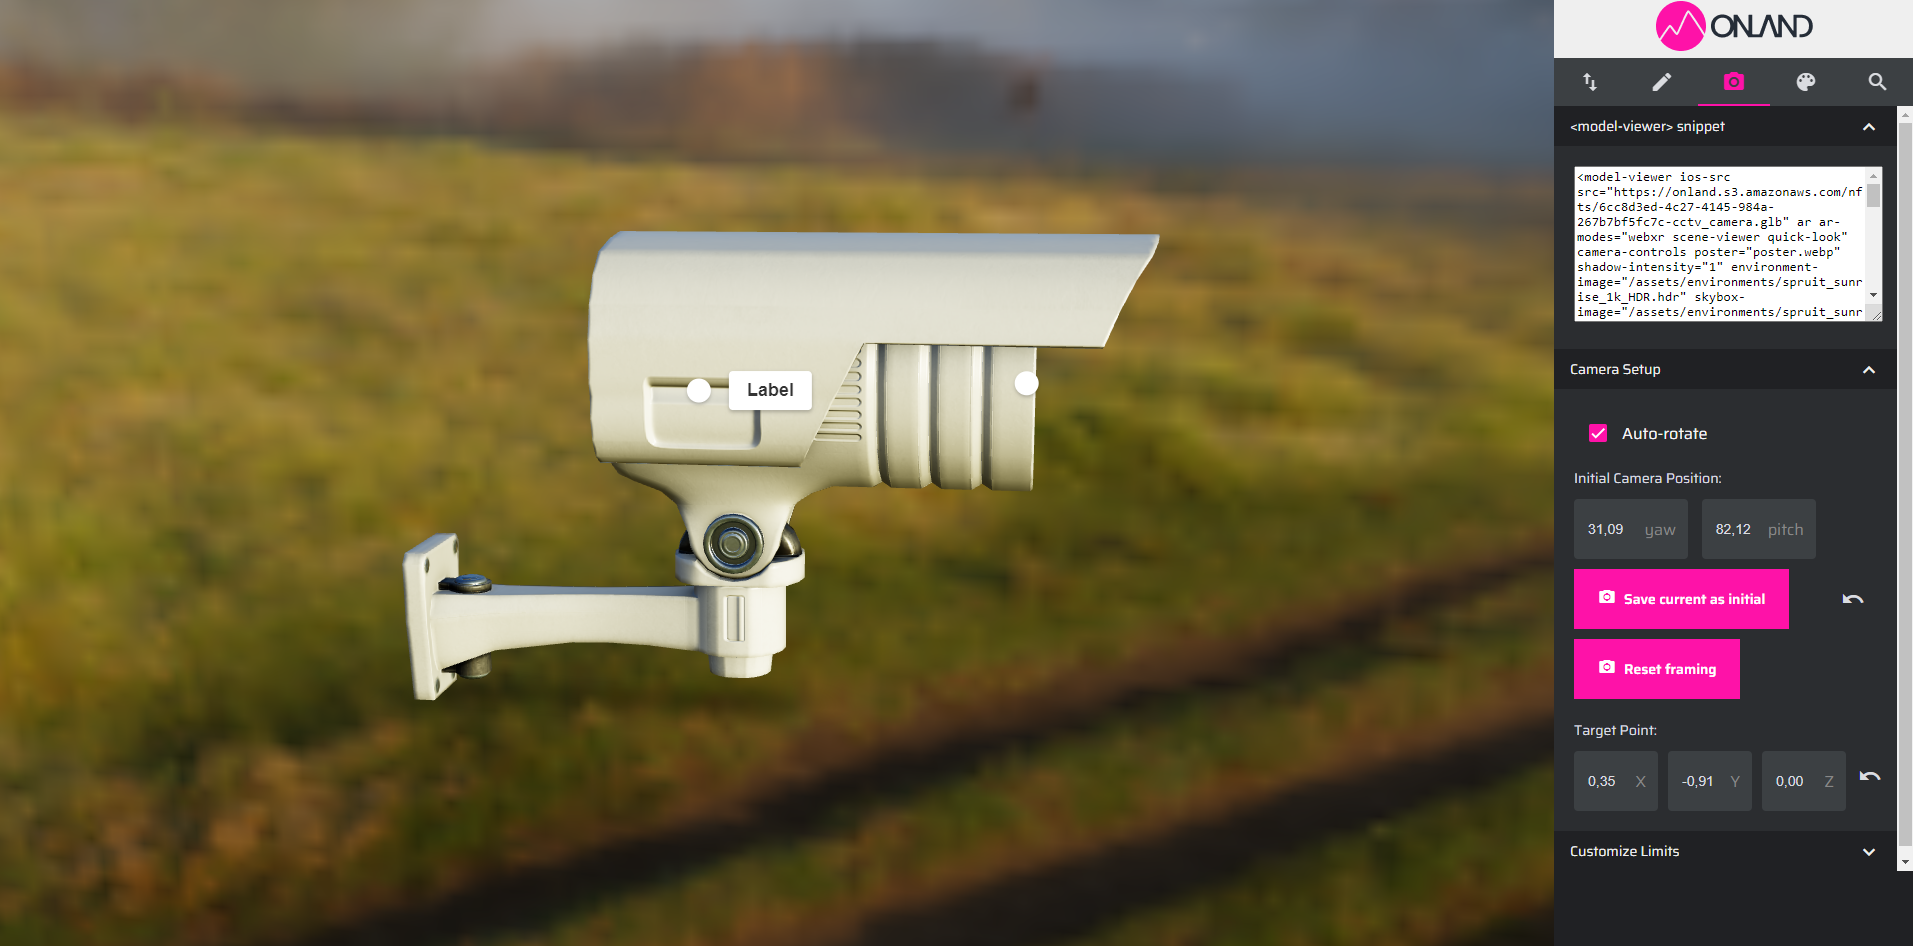
Camera
You can move your object in the 3D viewing area and set a starting point for the model; this will be saved as the angle for the poster image (still image that will be used as a poster when you download the 3D model). You can also download the poster by clicking in the Poster button.
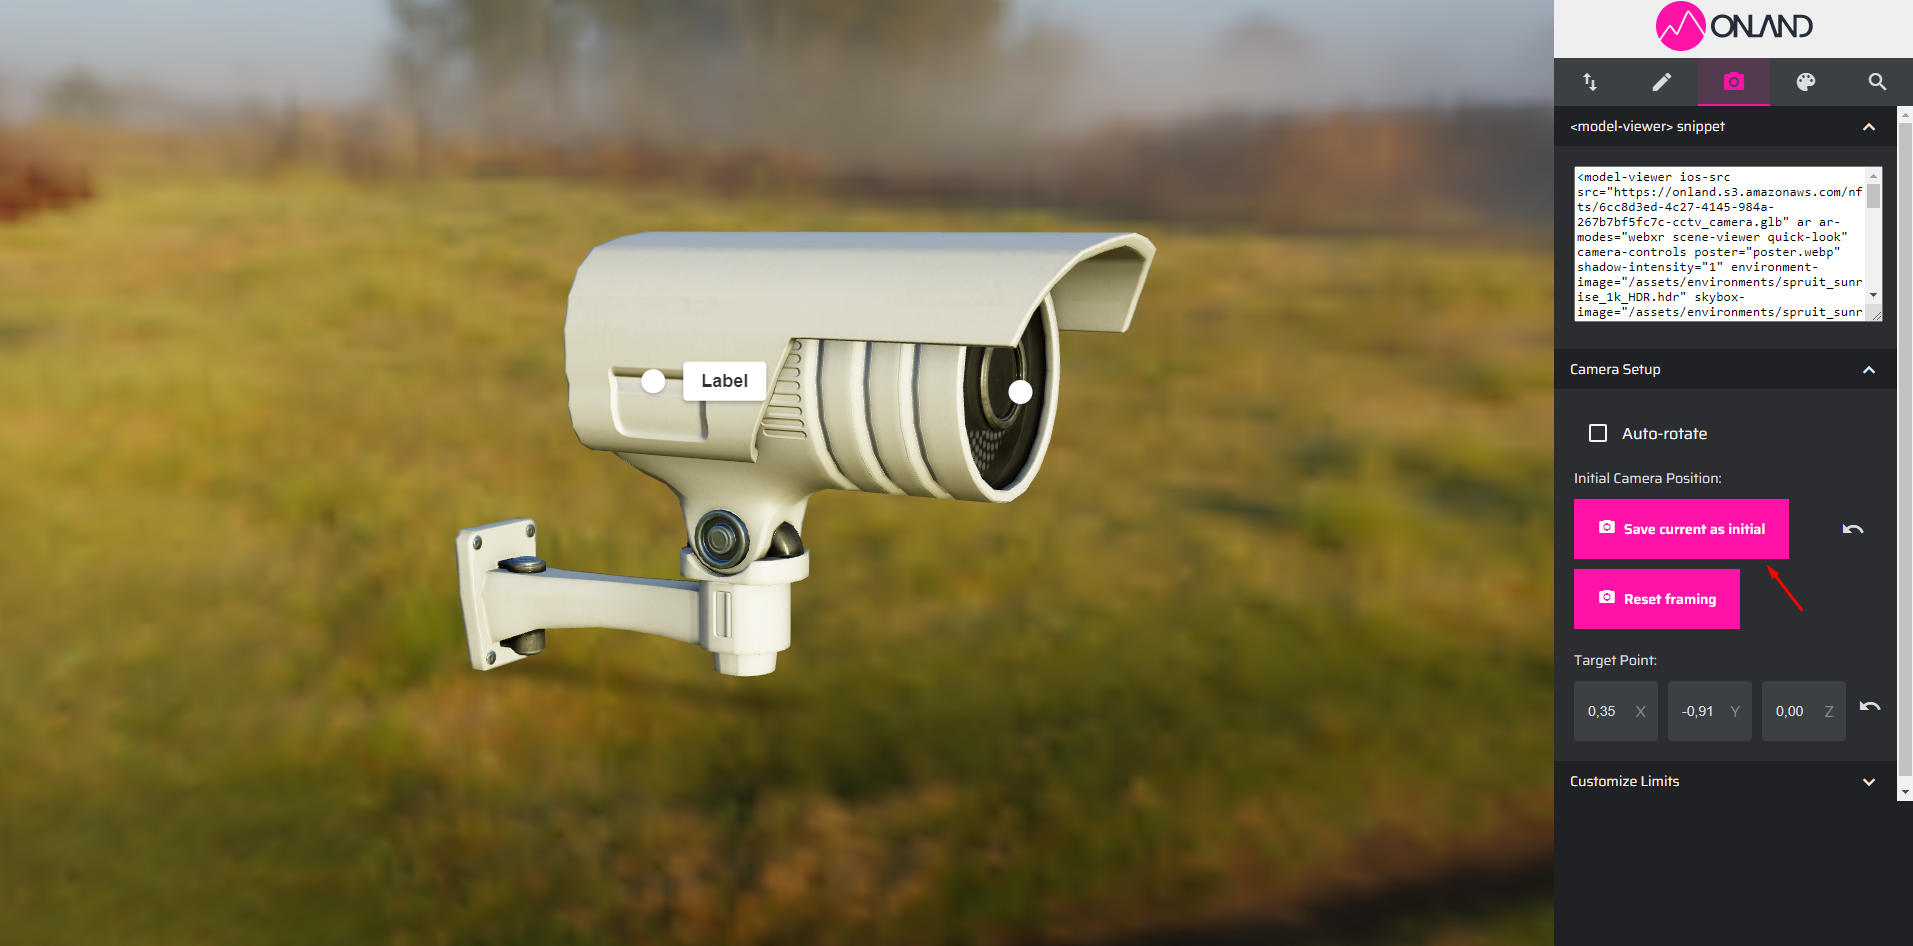
You can also activate the autorotate option so your model will rotate in your browser.
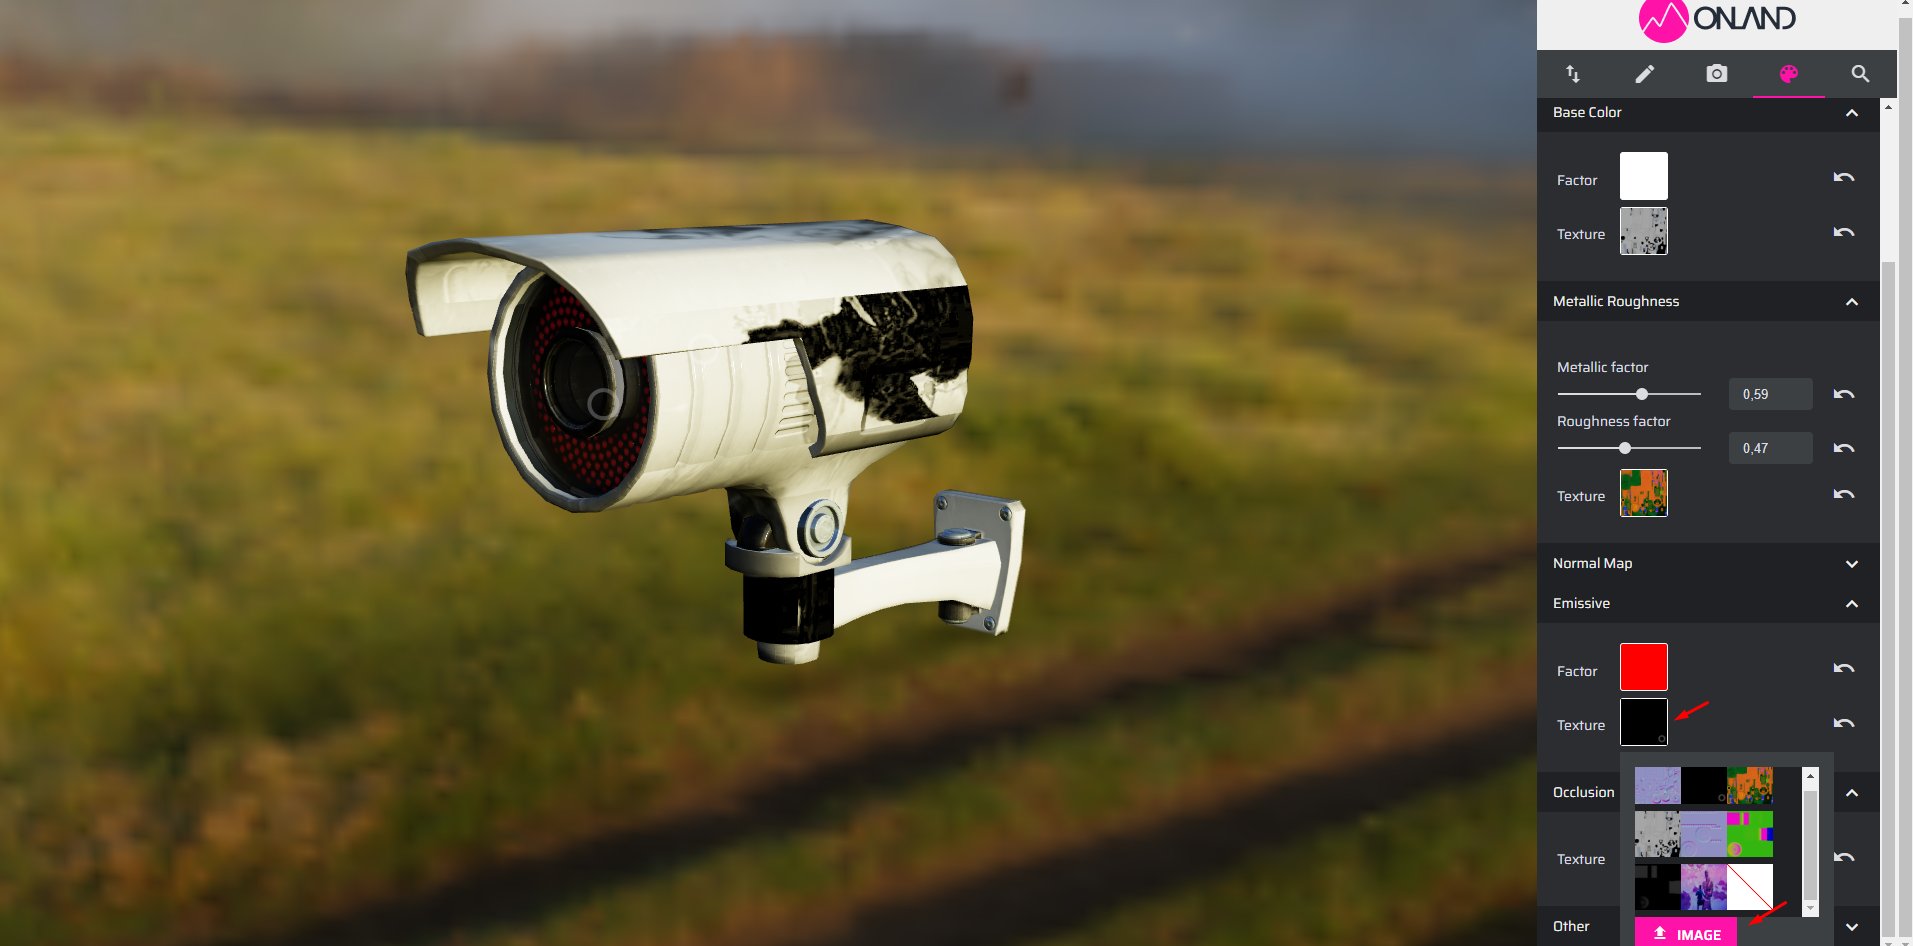
Artist pallet
In this tab, you can update the material your model uses and how it renders in the scene.
Factor: the base color is built from a factor value, which is the color and the texture; if you change it will be reflected in the rendered view.
Metallic and roughness panel: this is where you set the PBR surface inputs; adjusting the metallic and roughness factors has a dramatic effect on the final render. The metallic parts of the object will be less shiny due to reducing the metallic factor, and the roughness adjusts how shiny the object's surface is.
Emissive: the emissive property can light up parts of the model regardless of lighting; without a texture, it will affect the entire model.
Occlusion: is a way of making the ambient light that comes from the environment image less in the creases of the object
By clicking on the texture image, you´ll be able to upload your own textures/images and change the way your model looks